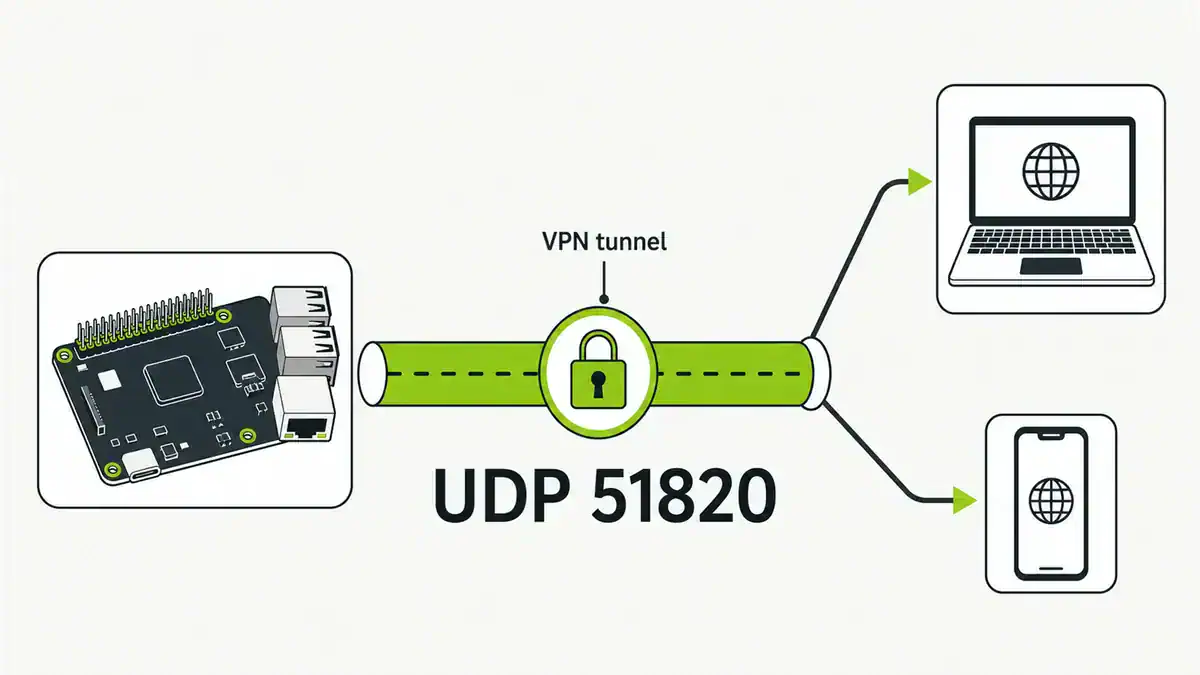
Updated June 2026. A Raspberry Pi makes a cheap, always-on WireGuard VPN server so you can reach your home network from anywhere. You can do it by hand in about ten minutes, or use PiVPN for a guided install. This guide covers both, plus the two things that trip people up: port forwarding and routing.
Quick answer
Install WireGuard, generate a server key pair, create /etc/wireguard/wg0.conf with your interface and each peer, enable it with wg-quick, and forward UDP 51820 on your router to the Pi. Add each device as a peer with its own keys. If you want the easy route, curl -L https://install.pivpn.io | bash sets all of this up interactively. Prefer zero config and no port forwarding? A mesh VPN like Tailscale is built on WireGuard and handles NAT traversal for you.
Step 1: Install WireGuard
sudo apt update
sudo apt install wireguard
# enable IP forwarding
sudo sed -i 's/#net.ipv4.ip_forward=1/net.ipv4.ip_forward=1/' /etc/sysctl.conf
sudo sysctl -p
Step 2: Generate keys and write the config
cd /etc/wireguard
umask 077
wg genkey | tee server_private.key | wg pubkey > server_public.key
Create /etc/wireguard/wg0.conf:
[Interface]
Address = 10.6.0.1/24
ListenPort = 51820
PrivateKey = <server-private-key>
# route client traffic to the internet through the Pi
PostUp = iptables -A FORWARD -i wg0 -j ACCEPT; iptables -t nat -A POSTROUTING -o eth0 -j MASQUERADE
PostDown = iptables -D FORWARD -i wg0 -j ACCEPT; iptables -t nat -D POSTROUTING -o eth0 -j MASQUERADE

[Peer]
PublicKey = <client-public-key>
AllowedIPs = 10.6.0.2/32
Step 3: Start it and add clients
sudo wg-quick up wg0
sudo systemctl enable wg-quick@wg0
sudo wg show
On each client, generate a key pair and use a config like this, then forward UDP 51820 on your router to the Pi:
[Interface]
PrivateKey = <client-private-key>
Address = 10.6.0.2/24
DNS = 10.6.0.1

[Peer]
PublicKey = <server-public-key>
Endpoint = your.public.ip:51820
AllowedIPs = 0.0.0.0/0
PersistentKeepalive = 25
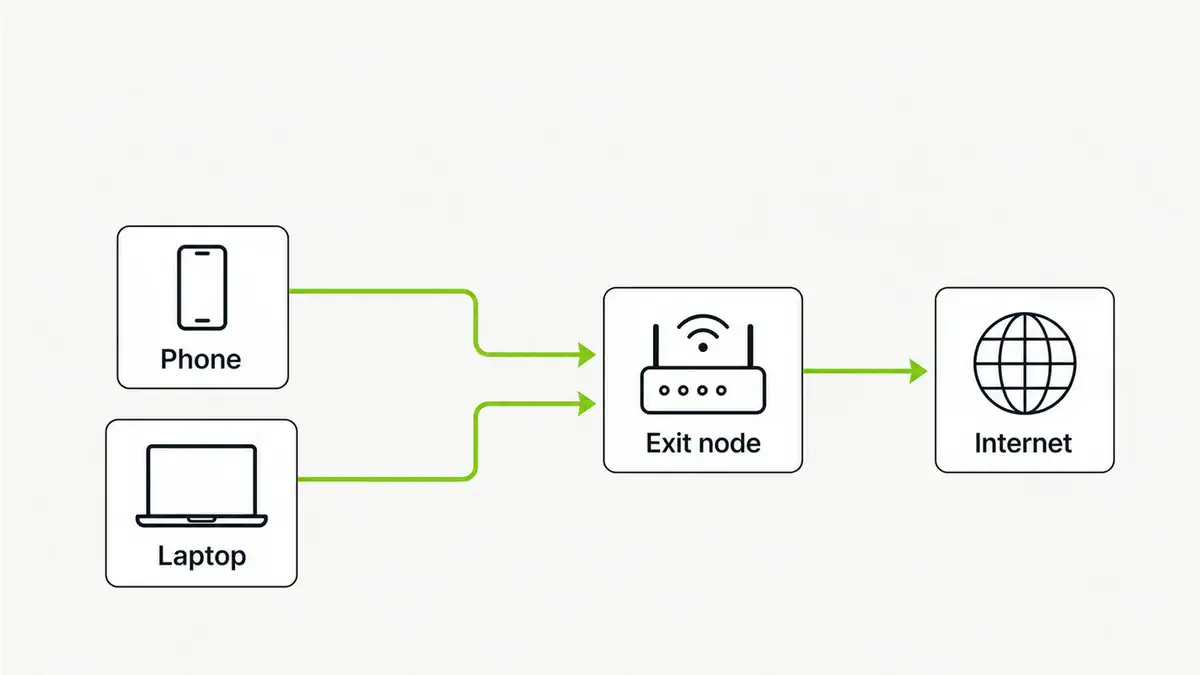
AllowedIPs = 0.0.0.0/0 routes all client traffic through home; narrow it to your LAN subnet for split tunneling. If you have not set up the Pi itself yet, start with installing Raspberry Pi OS and SSH.
Troubleshooting
- Handshake never completes. The endpoint is unreachable — confirm UDP 51820 is forwarded and you are not behind double NAT or CGNAT. See port forwarding not working.
- Connected but no internet. Usually IP forwarding or the NAT rule. Confirm
net.ipv4.ip_forward=1and theMASQUERADEline, and checkAllowedIPs. See VPN connected but no internet. - Names do not resolve. Set a reachable
DNSin the client config, such as your Pi-hole or a public resolver.
FAQ
Is PiVPN or manual setup better?
PiVPN is faster and handles keys, firewall, and client configs for you, making it ideal for beginners. Manual setup gives full control and understanding. Both produce the same WireGuard server underneath.
Do I need to forward a port for WireGuard?
Yes, for raw WireGuard you forward UDP 51820 (or your chosen port) to the Pi, and you need a reachable public IP. If your ISP uses CGNAT, use a mesh VPN like Tailscale instead, which needs no port forwarding.
How do I route all traffic through the VPN?
Set AllowedIPs = 0.0.0.0/0 in the client config and make sure the server has IP forwarding and a MASQUERADE NAT rule. For LAN-only access, use your subnet instead.
Can the Pi handle WireGuard?
Easily. WireGuard is lightweight, and even a Raspberry Pi Zero 2 W or Pi 3 can saturate typical home upload speeds as a VPN server.
WireGuard or Tailscale on a Pi?
Use raw WireGuard for a fully self-owned tunnel you control. Use Tailscale for a zero-config mesh with automatic NAT traversal. Tailscale is built on WireGuard, so you are choosing how much to manage.
Sources checked
Final take
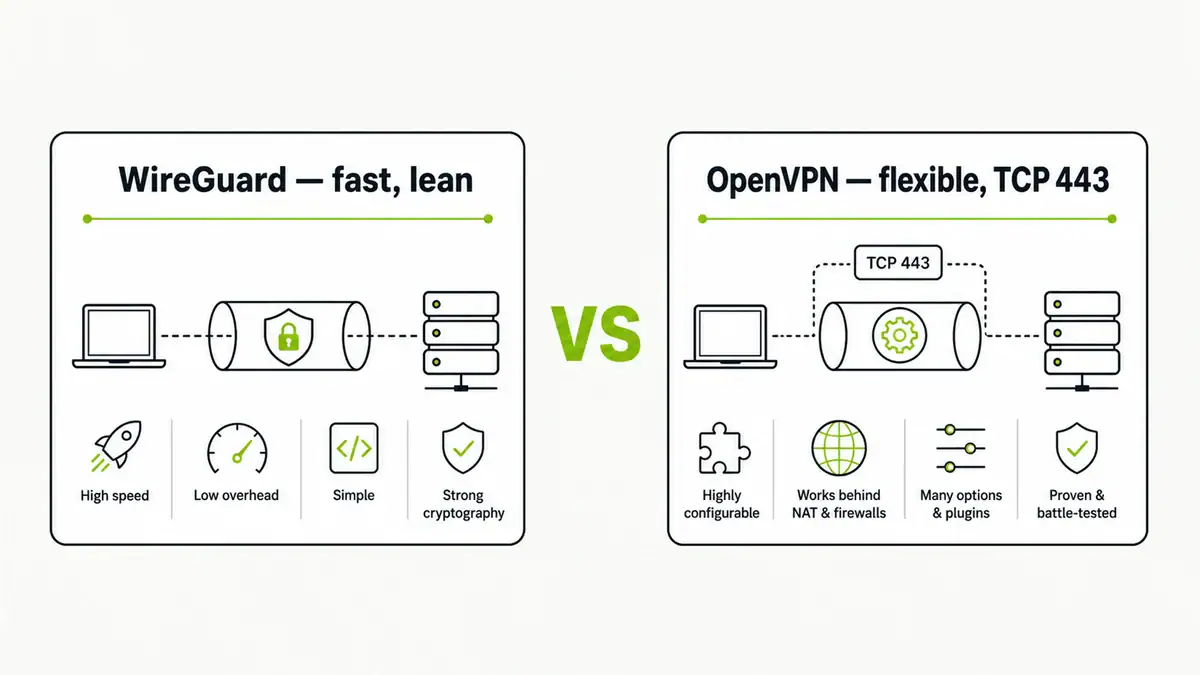
WireGuard on a Raspberry Pi is one of the best-value home-lab projects: a fast, private tunnel back to your network for the cost of a Pi. Use PiVPN if you want it done in minutes, or the manual steps above to understand every piece. If port forwarding or CGNAT is in your way, compare Tailscale vs WireGuard and WireGuard vs OpenVPN to pick the right tool.
Get notified whenever I post something new. No spam, and it helps a lot!


Leave a Reply